


Cart
0
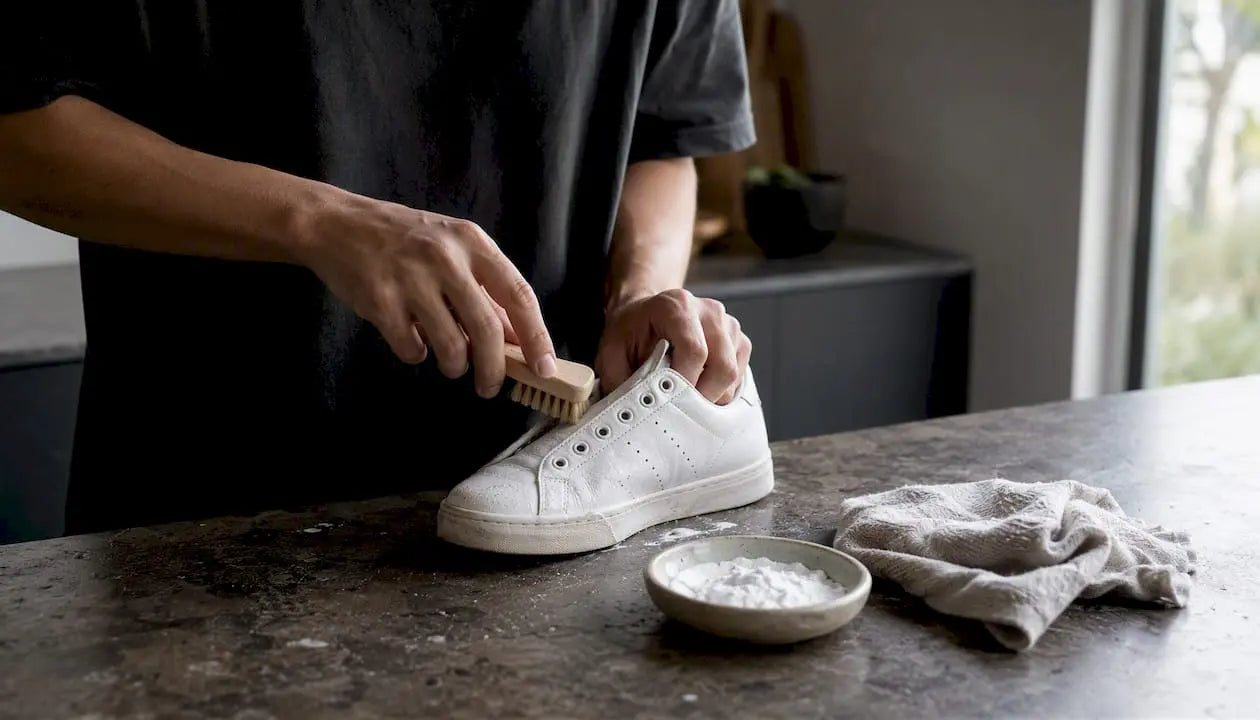
The fastest safe way to restore most white sneakers: dry-brush first, apply a gentle pH-balanced cleaner or a baking-soda paste to the uppers, scrub the midsole with a soft brush, wipe clean, then air-dry with paper towel stuffing to hold the shape. That four-step routine handles most everyday dirt without risking the adhesives or materials that hold your shoes together.
Start with these five things:
- Soft-bristle brush or old toothbrush
- Microfiber cloth
- Bowl of warm water
- Mild dish soap or pH-balanced sneaker cleaner
- Paper towels or shoe trees for drying
Choose household cleaners (baking soda, dish soap, white vinegar) for light surface dirt on canvas or rubber. Reach for a pH-balanced gel cleaner when you’re working with leather, mesh, or mixed materials where a harsh formula can strip finish or dry out the upper. Skip home cleaning entirely if the sole is separating, the cushioning is exposed, or the shoe has structural damage — those need a cobbler or replacement.
Pro Tip: Never wet a dirty shoe first. Dry-brushing removes loose grit before it turns into an embedded mud paste the moment water touches it.
Key Takeaways
The single most effective routine for white sneakers is dry-brush first, spot-clean with a pH-balanced cleaner or baking-soda paste, scrub the midsole separately, and air-dry with stuffing — in that order, every time.
| Point | Details |
|---|---|
| Dry-brush before any water | Removes loose grit so it doesn’t embed deeper when wet. |
| Match method to material | Canvas tolerates baking-soda paste; leather needs a damp cloth and conditioner only. |
| Never use heat to dry | Air-dry at room temperature with stuffing; heat yellows rubber and warps adhesives. |
| Clean midsole separately | Use a toothbrush and baking-soda paste on the midsole edge; apply whitener for yellowing. |
| Maintain consistently | Wipe after 1–2 wears, light clean weekly, full clean monthly to prevent buildup. |
| CAS7MFOCUS recommendation | Browse Cas7m for replacement sneakers or care-friendly apparel when restoration isn’t worth it. |
Table of Contents
- What do you need to clean white sneakers at home?
- How long does cleaning white sneakers actually take?
- How to spot-clean white sneakers by material
- How to wash shoelaces and insoles
- When is it safe to machine-wash sneakers?
- How to dry and reshape sneakers after cleaning
- Treating stubborn stains on white sneakers
- When should you not clean sneakers at home?
- CAS7MFOCUS care recommendations for white sneakers
- How to maintain the shoe sole and midsole separately
- Fresh kicks or a fresh start — CAS7MFOCUS has both
- Sources
- FAQ
What do you need to clean white sneakers at home?
Must-haves:
- Soft-bristle brush (a dedicated sneaker brush or a clean nail brush)
- Old toothbrush for seams, eyelets, and midsole edges
- Microfiber cloth or clean white rags
- Mild dish soap (Dawn works well) or a pH-balanced sneaker cleaner
- Bowl of warm water
- Magic eraser or soft midsole brush for rubber soles
Helpful extras:
- Mesh laundry bag (only if machine washing is manufacturer-approved)
- Sneaker whitener or non-bleach whitening pen for yellowed midsoles
- Water-repellent spray for post-clean protection
- Shoe trees or crumpled paper towels for drying
No sneaker kit? You likely already have everything you need. A drop of dish soap in warm water with a toothbrush outperforms most overpriced “sneaker foam” sprays on canvas and rubber. Wirecutter confirms that dish soap and a soft scrub brush brighten dirty sneakers just as effectively as specialty products.
One firm warning: skip bleach and acetone on uppers. Bleach yellows white fabrics over time and weakens stitching; acetone dissolves adhesives and can strip synthetic coatings permanently.
Pro Tip: Test any cleaner on a hidden spot first — the tongue back or inner heel — and wait two minutes before proceeding. Unknown materials react unpredictably.
How long does cleaning white sneakers actually take?
Knowing the time commitment upfront helps you pick the right method for your schedule. The biggest variable is always drying, not scrubbing.
| Method | Active Time | Wait/Dry Time | Ready to Wear |
|---|---|---|---|
| Quick wipe-down | 5 minutes | 15–20 minutes | Same day |
| Full spot-clean (paste) | 15–20 minutes | 30 min paste set + 2–4 hrs dry | Same day (evening) |
| Deep clean with laces | 30–40 minutes | 8–12 hrs air-dry | Next morning |
| Machine wash (if allowed) | 10 min prep | 12–24 hrs air-dry | Next day |
| Laces soak and dry | 5 min soak | 2–3 hrs air-dry | Same day |
| Insoles hand-wash | 5 min scrub | 4–6 hrs air-dry | Same day |
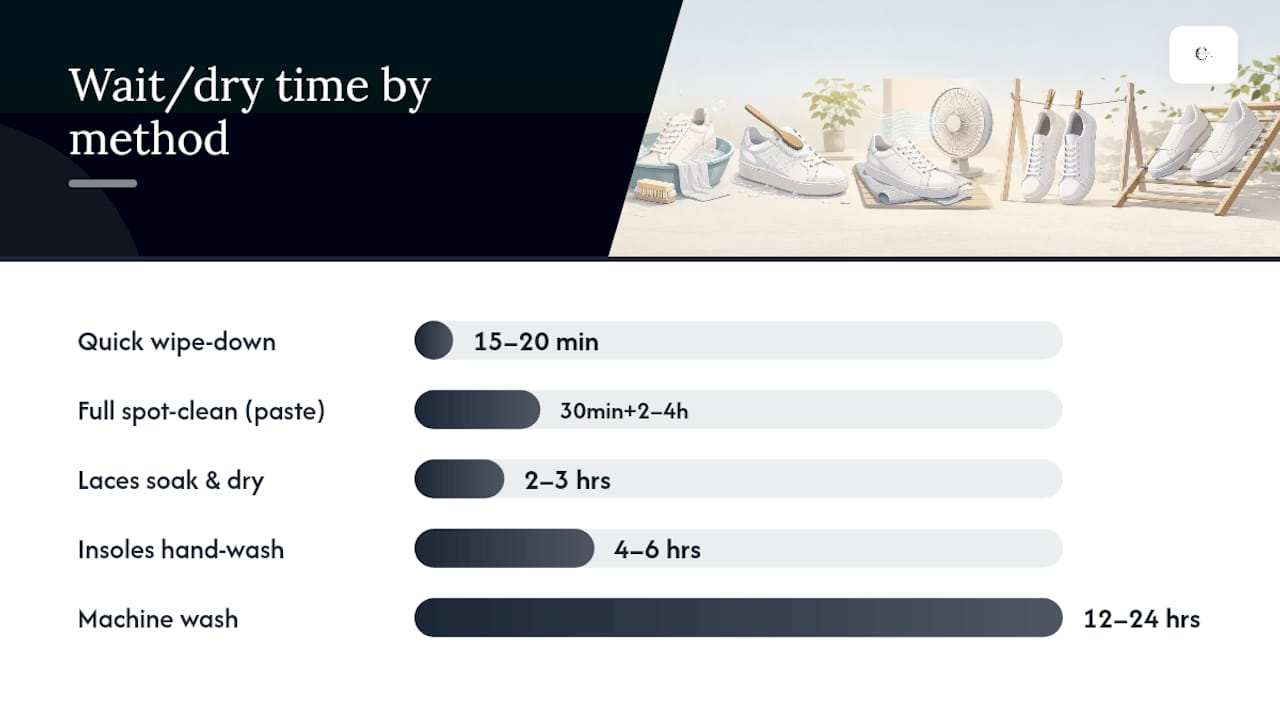
Paste-based methods (baking soda, whitener) need time to sit and lift stains before you wipe them off — rushing that step cuts results in half. Air-drying is non-negotiable; heat sources cut drying time but ruin shoes.
How to spot-clean white sneakers by material
Spot-cleaning is the right call for most everyday dirt. Match the method to your material and you’ll avoid the damage that comes from using a one-size-fits-all approach.
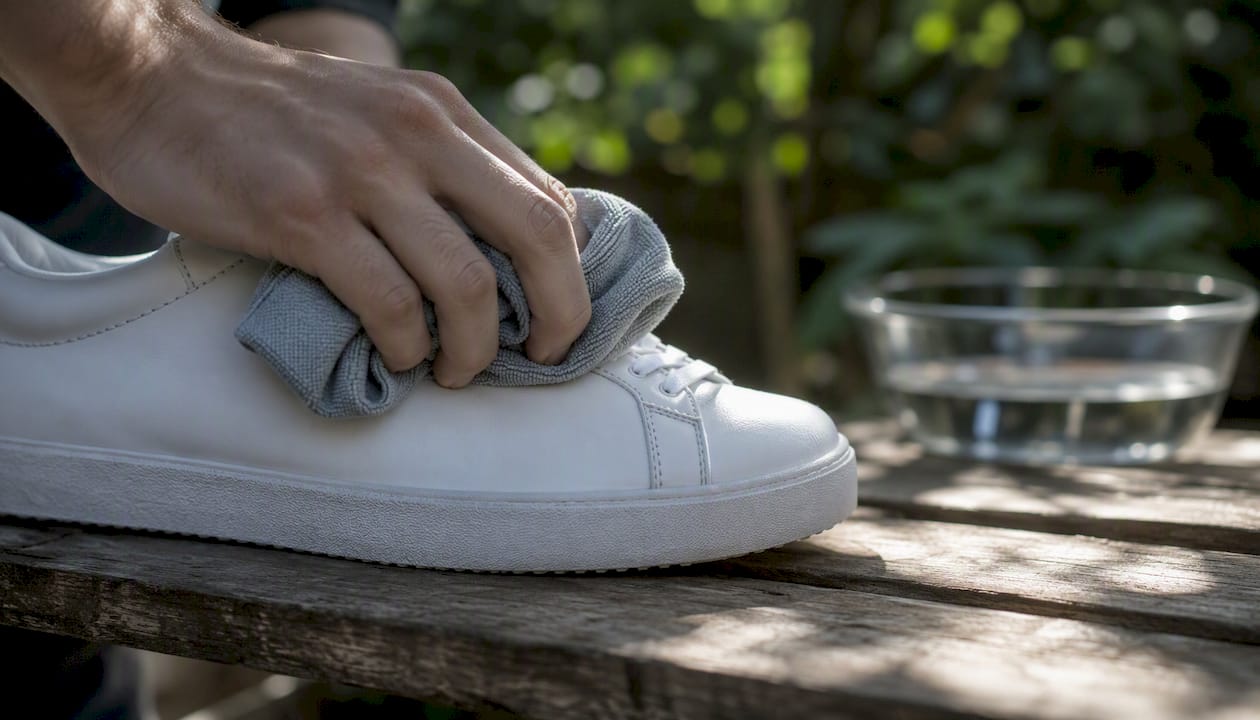
Smooth leather and vegan leather
Wipe with a damp microfiber cloth first — that alone removes most surface marks. For stubborn spots, add one drop of mild dish soap to the cloth, rub gently in small circles, then wipe with a clean damp cloth to remove all soap residue. Never soak leather or scrub hard; the finish scratches and the material dries out. After cleaning, let it air-dry fully, then apply a leather conditioner to restore suppleness. Walter’s shoe care experts specifically flag leather as needing gentler treatment and conditioning — bleach and abrasive scrubbing are off the table.
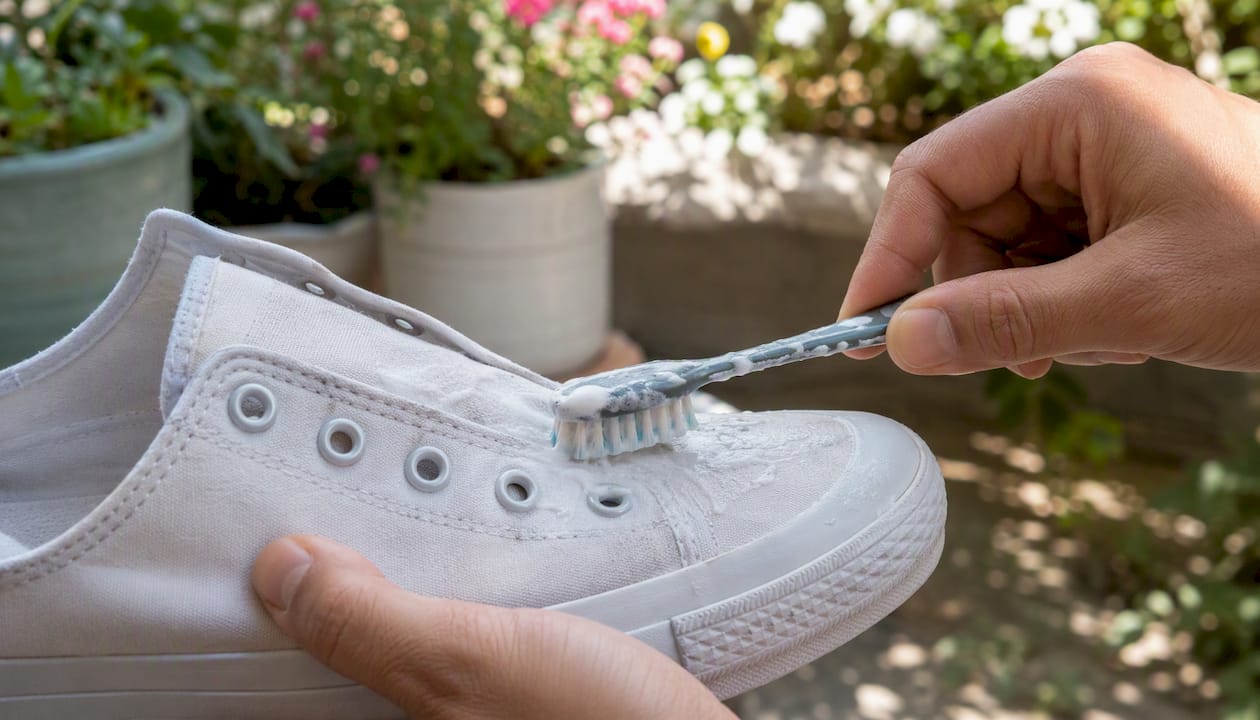
Canvas and fabric uppers
Canvas tolerates more moisture than leather, making it the easiest material to clean at home. Mix a paste of one tablespoon baking soda, one tablespoon white vinegar, and one tablespoon warm water. Apply with an old toothbrush using gentle circular strokes, let it sit for 10–15 minutes, then wipe off with a damp cloth and air-dry. Condé Nast Traveler backs this exact paste for canvas uppers. Avoid over-soaking — canvas that stays wet too long can shrink slightly or develop water stains.
Mesh and knit uppers
Mesh is porous and traps dirt deep in the weave. Use a soft brush (not a stiff one) with diluted dish soap, working in short strokes along the grain of the mesh. Rinse with a barely damp cloth rather than running water. Soaking mesh sneakers causes the inner foam to absorb water and take forever to dry, sometimes leaving a musty smell.
Suede and nubuck
These need a dry approach. Use a suede brush or clean pencil eraser to lift surface marks — no water, no soap. For set-in stains, a suede-specific cleaner applied sparingly with a soft cloth is your only safe option. Never use the baking-soda paste on suede; moisture warps the nap permanently.
Colorfastness test for unknown materials: Dab a small amount of your chosen cleaner on the inside of the tongue, wait two minutes, and blot with a white cloth. If color transfers or the material darkens and doesn’t recover, switch to plain water only.
Pro Tip: For canvas, the baking-soda paste works better than dish soap alone because the mild abrasive in baking soda lifts embedded dirt without scratching the weave
How to wash shoelaces and insoles
Laces and insoles collect more bacteria and odor than the upper itself — cleaning them separately makes a real difference.
Laces:
- Remove laces completely before cleaning the shoe
- Soak in warm water with a small squeeze of dish soap or laundry detergent for 10–15 minutes
- Rub laces together gently or use a toothbrush on stubborn spots
- Rinse thoroughly under cool water
- Lay flat or hang to air-dry; do not wring them
Insoles:
- Remove insoles and tap out loose debris
- Hand-wash with a damp cloth and mild soap; scrub lightly with a toothbrush on stained areas
- For odor, sprinkle baking soda on the insole, let it sit for 30 minutes, then brush off — or wipe with a cloth dampened with diluted white vinegar
- Air-dry completely before reinserting; prop them upright so air circulates on both sides
- Replace insoles if they’ve lost their cushioning or the odor won’t lift after two cleanings
Never machine-dry laces or insoles. High heat warps insole foam, degrades adhesive backing, and can cause laces to shrink or fray.
When is it safe to machine-wash sneakers?
Machine washing is an option only when the manufacturer explicitly allows it and the shoe is built to handle it — canvas or cloth uppers with stitched (not glued-only) construction. If you’re unsure, hand-wash.
- Remove laces and insoles and clean them separately.
- Dry-brush the uppers and soles to remove loose dirt before any water contacts them.
- Place shoes in a mesh laundry bag or a tied pillowcase to protect them and the drum.
- Add two or three old towels to the load to balance the machine and cushion the shoes.
- Select the gentle or delicate cycle with cool or lukewarm water.
- Use a small amount of mild liquid detergent — no bleach, no fabric softener.
- Skip the spin cycle if your machine allows it; high spin speeds stress seams and adhesives.
- Remove immediately after the cycle and air-dry with stuffing inside.
VICE’s cleaning guide is direct on this: machine washing can weaken adhesives, distort shape, and damage cushioning regardless of material. The washing machine is a last resort for smelly canvas shoes, not a routine cleaning method. Wirecutter echoes this — useful for odor, not universally safe.
Pro Tip: Place a few drops of white vinegar in the detergent drawer instead of fabric softener. It neutralizes odors without leaving a residue that dulls white fabric.
How to dry and reshape sneakers after cleaning
Air-dry at room temperature with stuffing inside — that’s the rule, and it applies every time regardless of how you cleaned them.
What to stuff with: Crumpled paper towels work well and absorb residual moisture from the inside. Cedar shoe trees are better for leather sneakers because they also condition the material as it dries. Avoid newspaper; the ink can transfer to white linings.
Drying steps:
- Remove excess moisture with a dry microfiber cloth immediately after cleaning
- Stuff shoes firmly but not so tightly that they stretch the toe box
- Place upright in a well-ventilated area away from direct sunlight and heat sources
- Rotate every few hours so both sides dry evenly
- Wait at least 8–12 hours before wearing; leather may need up to 24 hours
City Magazine’s sneaker care guide is clear: radiators and dryers yellow materials and warp glue and cushioning. Direct sunlight causes the same yellowing reaction on white rubber and fabric.
Finishing touches after drying:
- Relace shoes and check that eyelets are clean
- Apply a water-repellent spray once the shoe is completely dry — never on damp material
- Inspect glue seams along the midsole; press any lifting edges back with shoe glue if caught early
Pro Tip: A water-repellent spray applied after every full clean dramatically reduces how often you need to deep-clean. It’s the single highest-return step most people skip.
Treating stubborn stains on white sneakers
Most stains respond to the right treatment applied quickly. The longer a stain sits, the harder it is to reverse.
| Stain Type | Home Treatment | Specialized Product Needed? |
|---|---|---|
| Mud/dirt | Dry-brush when fully dry, then damp cloth | No |
| Grease/oil | Dish soap directly on stain, gentle scrub | Only if set in |
| Coffee/tea | Damp cloth + white vinegar rinse | Rarely |
| Ink | Rubbing alcohol on a cotton swab (rubber/canvas only) | Sometimes |
| Scuffs (rubber) | Magic eraser, dry | No |
| Yellowing (fabric) | Baking-soda paste, sun exposure after applying | Non-bleach whitener for severe cases |
| Midsole discoloration | Magic eraser + sneaker whitener pen | Yes, for deep yellowing |
Midsole yellowing deserves its own note. The yellow tint on white rubber midsoles comes from UV oxidation and contact with certain cleaning chemicals — ironically, bleach accelerates it. Reverse mild yellowing with a baking-soda paste left on for 30 minutes in indirect sunlight, then wiped off. For deeper discoloration, a non-bleach sneaker whitener applied with a small brush and left to cure works better than any home remedy.
Safety cautions:
- Always test in a hidden spot before treating a stain
- Never use bleach on fabric uppers or leather — it causes irreversible yellowing and weakens fibers
- Limit rubbing alcohol and acetone to rubber-only areas; both strip synthetic coatings and dissolve adhesives on contact
When should you not clean sneakers at home?
Some shoes are past the point where DIY cleaning helps — and pushing forward can cause permanent damage.
Stop and seek professional help or consider replacement if you see:
- Sole separation or delamination along the midsole edge
- Exposed foam cushioning or a collapsed heel counter
- Glued seams that are actively peeling away from the upper
- Heavy structural yellowing that covers the entire midsole and hasn’t responded to two cleaning attempts
- Leather that is cracking, flaking, or has lost its surface coating
Machine washing or heat-drying a shoe with failing adhesives accelerates the breakdown — the glue softens, the sole separates further, and the shape distorts. Leather that’s already cracking will crack more if soaked. These aren’t cleaning problems; they’re structural ones.
Professional shoe repair services can re-sole, re-glue, and restore finish on shoes worth saving. For shoes that have reached the end of their structural life, cleaning is a temporary fix at best. If the cost of professional restoration approaches the price of a new pair, replacement is the more practical call. For shoes that need a professional touch beyond what home cleaning can do, a service like Atelier Maids can help with thorough restoration work.
CAS7MFOCUS care recommendations for white sneakers
Consistent, light maintenance is what keeps white sneakers looking fresh between deep cleans. The goal is to prevent buildup, not react to it.
Recommended maintenance schedule, backed by Walter’s shoe care guidance:
- After every 1–2 wears: Wipe the uppers and midsole with a damp microfiber cloth to remove surface dust and light marks before they set
- Weekly: Light spot-clean with dish soap or a pH-balanced cleaner on any visible marks; re-apply water-repellent spray if the shoe has been worn in wet conditions
- Monthly (or as needed): Full clean — uppers, laces, insoles, midsole, and sole; inspect glue seams and apply conditioner to leather
Product categories worth having:
- A pH-balanced cleaner (safer across leather, canvas, and mesh than dish soap alone)
- Water-repellent spray (apply after every full clean once the shoe is dry)
- Microfiber cloths (two at minimum — one for applying, one for wiping)
- Non-bleach whitening pen or sneaker whitener for midsoles
Gentle, regular care does more than keep shoes looking good — it extends the life of the materials and adhesives, which means you replace shoes less often. CAS7MFOCUS’s approach to garment care follows the same principle: treat materials gently and consistently, and they last. The same logic that applies to washing delicate knitwear — cool water, mild detergent, air-dry — maps directly to sneaker care.
How to maintain the shoe sole and midsole separately
The sole and midsole need different treatment from the upper, and most people clean them as an afterthought. That’s a mistake — the midsole is the most visible part of a white sneaker from a distance, and it yellows faster than the upper.
Outsole (the bottom rubber): Scrub with a stiff brush and warm soapy water after every few wears. Dirt embedded in the tread pattern transfers to floors and back onto the upper when you walk. A magic eraser handles scuffs on flat rubber sections. Rinse with a damp cloth and dry with a towel.
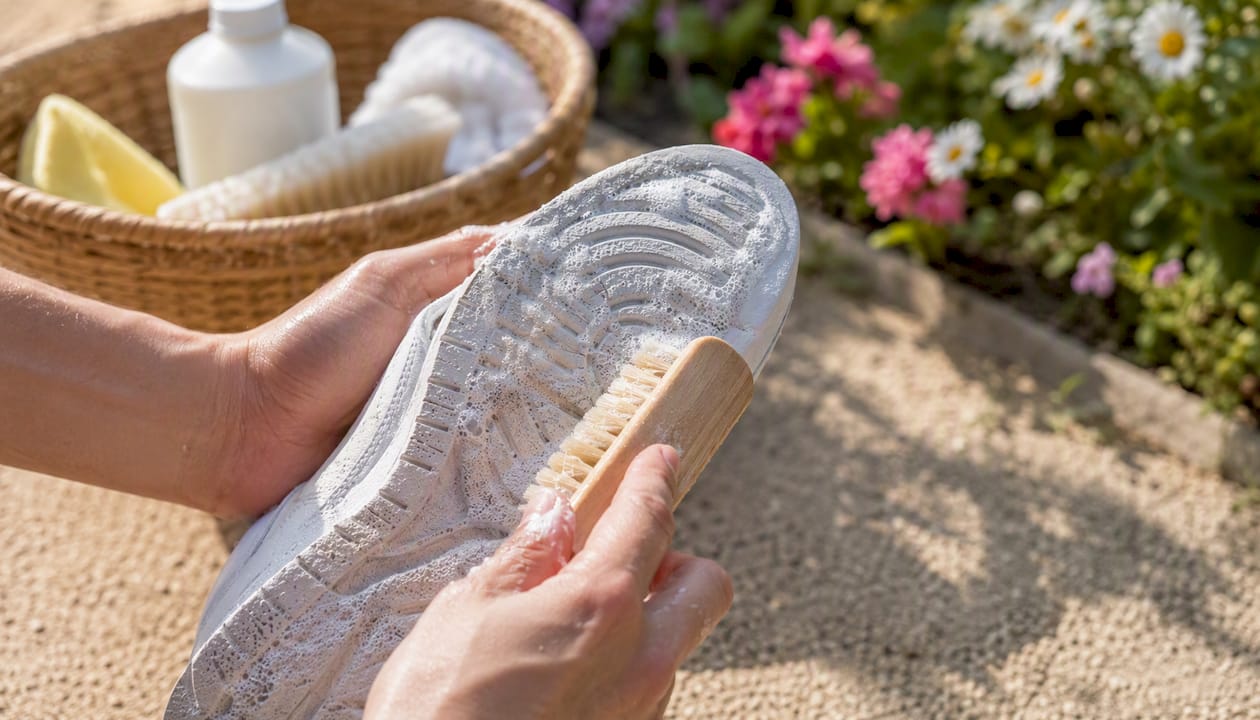
Midsole (the white foam or rubber strip between upper and outsole): This is where yellowing concentrates. Use a soft toothbrush with a baking-soda paste or a dedicated midsole cleaner, working in short horizontal strokes along the midsole edge. Wipe clean with a damp cloth. For set-in yellowing, a non-bleach whitener applied with a small applicator brush and left to cure for 20–30 minutes gives the best results.
Keep the midsole dry between cleans. Moisture that sits in the seam between the midsole and upper softens the adhesive over time. After cleaning, apply a thin coat of water-repellent spray to the midsole edge — it reduces how much grime sticks in the first place.
The honest case for knowing when to stop cleaning
Cleaning white sneakers is satisfying when it works — and it usually does, if you catch dirt early and use the right method for the material. But there’s a point where restoration effort stops making sense.
If a shoe has taken two full cleaning sessions and still looks dingy, or if the structure is compromised, the honest answer is that no amount of baking-soda paste will fix it. Time, cost, and sentimental value are the three real variables. A pair with genuine sentimental weight is worth a professional restoration attempt. A pair that cost $40 and has logged two years of daily wear probably isn’t.
The most practical mindset: clean consistently so you never reach the point of needing a rescue clean. A two-minute wipe after wearing does more for longevity than an hour of scrubbing once a month.
Fresh kicks or a fresh start — CAS7MFOCUS has both
Sometimes the right move is a new pair. If your sneakers are structurally damaged or the restoration effort would cost more than replacing them, that’s a completely valid call — and CAS7MFOCUS makes it easy to find something you’ll actually want to wear.

CAS7MFOCUS carries a curated range of footwear and casual apparel for women, men, and kids — built around the same comfort-first, style-forward approach this guide is written around. Whether you’re replacing a worn-out pair or refreshing your whole look, the store’s collections are worth a browse. Clean shoes pair best with a clean outfit, and CAS7MFOCUS has both covered. Head to Cas7m to shop current styles and find your next go-to pair.
Sources
- How to Clean White Sneakers | Reviews by Wirecutter
- How to Clean White Sneakers | Condé Nast Traveler
- How to clean white trainers without ruining them | VICE
- How to Clean, Whiten & Restore White Sneakers Like a Pro – Walter’s
FAQ
Can I use bleach to whiten my sneakers?
Bleach accelerates yellowing on white fabric and weakens stitching over time — use a non-bleach whitener or a baking-soda paste instead for safer results.
How do I remove yellowing from white sneaker soles?
Apply a baking-soda paste to the midsole, let it sit for 20–30 minutes in indirect light, then wipe clean; for deep yellowing, a dedicated non-bleach sneaker whitener works better.
Is it safe to put white sneakers in the washing machine?
Only if the manufacturer allows it and the shoe has a stitched canvas construction — machine washing can weaken adhesives and distort shape, as VICE’s guide notes.
How often should I clean white sneakers?
Wipe after every 1–2 wears, do a light spot-clean weekly, and run a full clean monthly or whenever visible dirt builds up.
What’s the best way to keep white sneakers white longer?
Apply a water-repellent spray after every full clean once the shoe is completely dry — it reduces how much dirt and moisture bonds to the surface between wears.

