


Cart
0
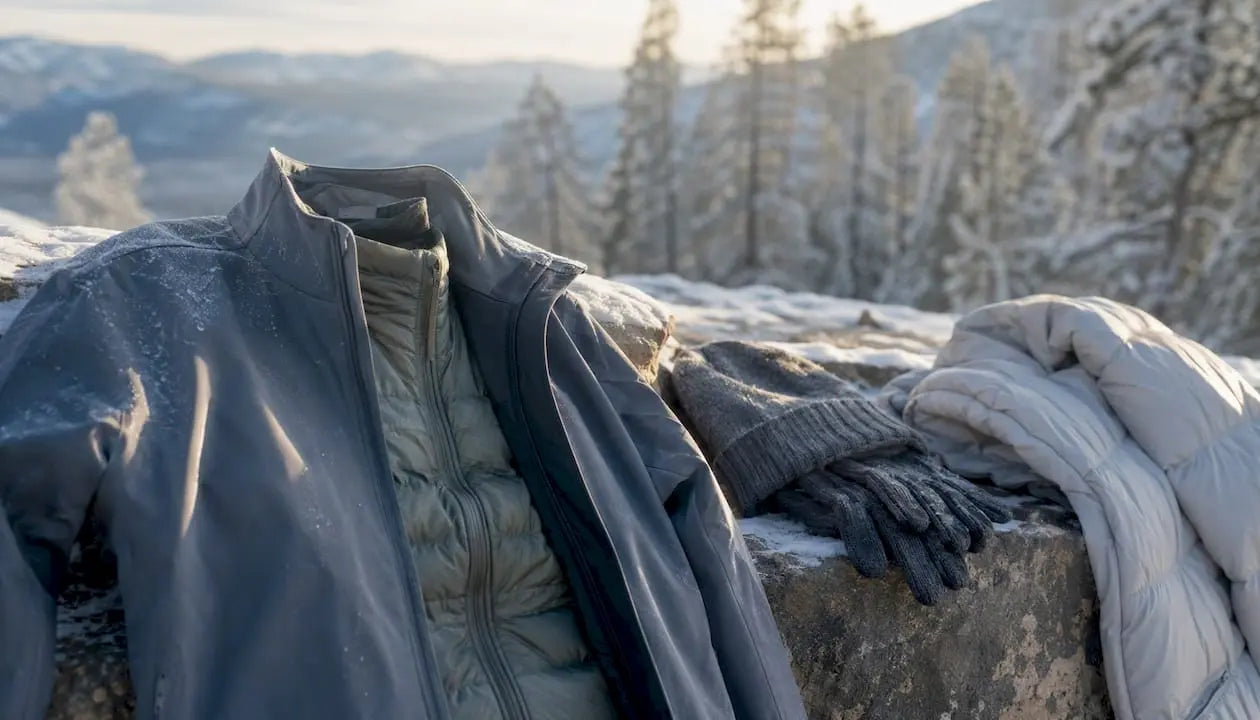
Layering for cold weather works on one rule: a wicking base layer pulls sweat away from your skin, an insulating mid layer traps heat, and a protective outer shell blocks wind and rain. The single most important thing to remember is to match your insulation to your activity level. As the Appalachian Mountain Club advises, start slightly cold and add layers when you stop — not before you begin moving.
Before you head out, run through this quick check:
- Put on your base layer (fitted, non-cotton, moisture-wicking)
- Pack your shell in an accessible outer pocket
- Carry at least one extra mid layer you can pull on at rest stops
- Tuck a warm hat and gloves into your pack even on mild cold days
Key Takeaways
Effective layering for cold weather means matching your insulation to your activity level, keeping moisture away from your skin, and always carrying a shell before conditions change.
| Point | Details |
|---|---|
| Three-layer system | Base wicks moisture, mid traps heat, shell blocks wind and rain. |
| Start cold | Begin each outing feeling slightly chilly; add layers when you stop moving. |
| Avoid cotton | Cotton holds moisture and accelerates heat loss; use merino or synthetic fabrics. |
| Protect extremities | A warm hat, liner gloves, and wool socks prevent disproportionate heat loss. |
| CAS7MFOCUS mid layers | Thermal vests and hoodies from CAS7MFOCUS work as practical insulating layers for everyday cold-weather outings. |
Table of Contents
- How does the base layer actually work?
- What mid layers do and how to stack them
- How to choose the right outer shell
- How to scale your layers for different activities
- Protecting your head, hands, and feet
- Fit, care, and smart packing
- Common layering mistakes and how to fix them
- How to test and tune your layering system
- What most people get wrong about layering
- CAS7MFOCUS has the layers you need for cold days
- Sources
- FAQ
How does the base layer actually work?
The base layer’s job is simple: move sweat off your skin before it chills you. It does not warm you — it keeps you dry so your mid layer can do the warming. REI’s layering guide describes it as the foundation of the whole system, and getting it wrong undermines every layer above it.
Material matters more than anything else here
Cotton is the one fabric to avoid entirely. It absorbs moisture and holds it against your skin, accelerating heat loss exactly when you need warmth most. Merino wool and synthetic fabrics (polyester, polypropylene) are the two real options, and they behave differently.
Paddling Magazine’s base layer testing found that merino insulates even when damp and resists odor through multi-day use, while synthetics dry significantly faster and tend to perform better during sweat-heavy activities. WIRED’s layering breakdown echoes this: the right choice depends on your expected exertion and how long you’ll be out.
| Material | Dries Fast | Insulates When Wet | Odor Resistance | Best For |
|---|---|---|---|---|
| Merino wool | No | Yes | Excellent | Multi-day trips, moderate output |
| Synthetic (polyester/polypropylene) | Yes | Partially | Moderate | High-output, single-day activities |
| Cotton | No | No | Poor | Avoid for cold-weather use |
Choosing the right weight
Base layer weight categories map directly to activity and temperature:
- Lightweight: High-output activities (running, skinning) or milder cold days
- Midweight: General winter hiking, skiing, and everyday cold-weather use
- Heavyweight: Low-output activities, very cold temperatures, or long rest periods
Fit should be close to skin without restricting movement. Flat seams and a long enough hem to stay tucked matter more than most people expect.
Pro Tip: Wet your wrist, press the base layer fabric against it for 30 seconds, then check how dry the fabric feels. A good wicking fabric pulls moisture away noticeably faster than cotton.
What mid layers do and how to stack them
The mid layer’s job is to trap warm air close to your body. OutdoorGearLab’s testing consistently shows that fit and fabric weight determine how well any insulating layer performs — compress the insulation and you lose most of its warmth.
The main mid-layer types each have real trade-offs:
- Fleece (carded or polar): Breathes well, dries fast, stays warm when damp. Bulkier than a puffy but great for high-output days where you need ventilation.
- Synthetic insulation (Primaloft-style): Warm even when wet, compresses well, durable through repeated washing. Slightly heavier than down for the same warmth.
- Down insulation: Best warmth-to-weight ratio and packability. Loses most of its loft when wet, so it works best in dry cold or as a camp layer.
- Hybrid constructions: Down panels in low-wear zones, synthetic or fleece in high-sweat areas. A practical middle ground for variable conditions.
Stacking mid layers gives you flexibility. A thin fleece paired with a light synthetic puffy covers a wider temperature range than one thick puffy alone — you can shed the fleece when you start moving hard and pull it back on at rest. For low-output activities like snowshoeing at a slow pace or watching a game outdoors, a single heavier mid layer often works better.
Fit rule: roomier than your base layer, close enough to transfer heat efficiently, but never tight enough to flatten the insulation.
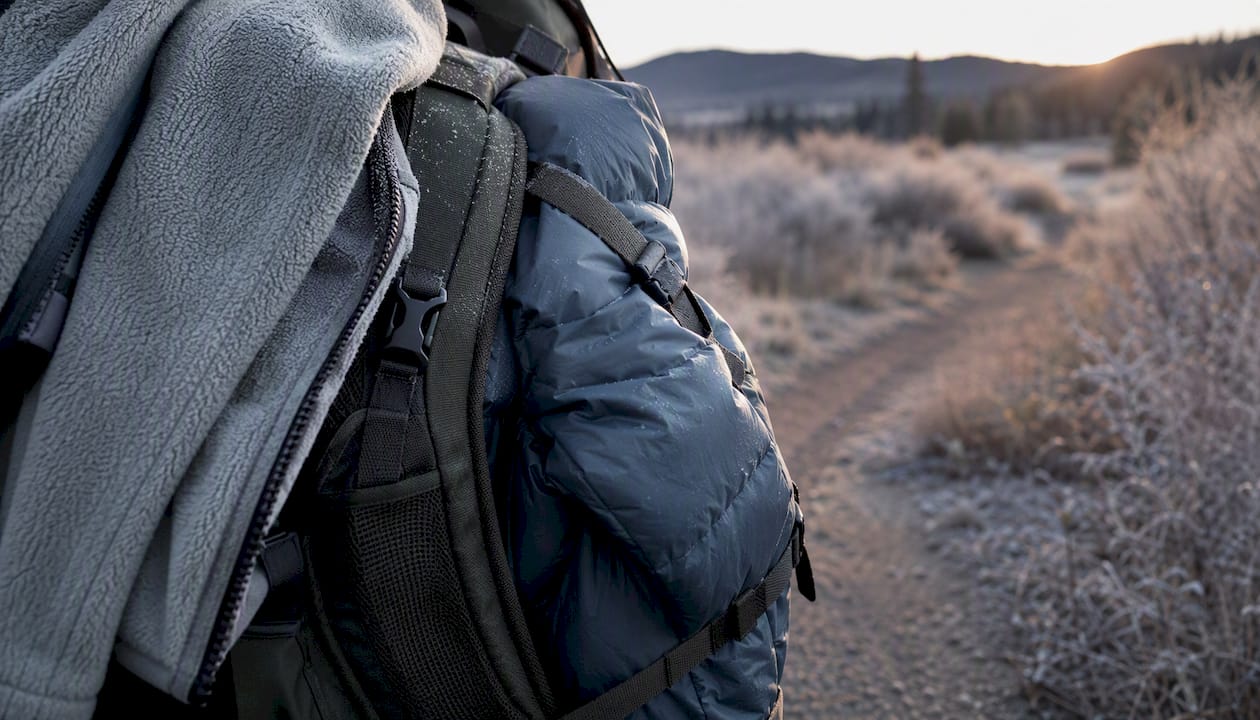
Pro Tip: Even on high-output days, pack a lightweight synthetic puffy in your bag. When you stop for lunch or hit a windy ridge, you’ll want it within 60 seconds.
How to choose the right outer shell
The shell does not warm you. It blocks wind, sheds rain and snow, and lets moisture vapor escape so your inner layers stay dry. Wet insulation loses its ability to trap heat, which is why carrying a shell matters even on days that start clear.
Hardshell vs. softshell
Hardshells use a waterproof-breathable membrane (think taped seams, fully sealed construction) and are the right call for sustained rain, wet snow, or exposed ridgelines. They pack small and perform in the worst conditions.
Softshells trade some waterproofing for better breathability and stretch. They work well in cold, dry conditions or for high-mobility activities like climbing or trail running where you need full range of motion and the weather is predictable.
Key features to look for in any shell: pit zips for rapid heat dumping, an adjustable helmet-compatible hood, wrist closures that seal over gloves, and a hem that covers your hips when you bend forward.
The DWR (durable water repellent) coating on most shells causes water to bead and roll off the face fabric. When that coating degrades, the outer fabric wets out and breathability drops sharply. Reactivating DWR is covered in the care section below.
Pro Tip: Put your shell on before your insulation gets wet, not after. Once a down or synthetic mid layer absorbs moisture, it takes far longer to recover its loft than it would have taken to just keep it dry.
How to scale your layers for different activities
Personal metabolism and activity intensity change your insulation needs as much as the temperature does, according to WIRED’s layering analysis. A runner generating heat at full effort needs far less insulation than a spectator standing still in the same conditions.
Sample kits by activity type
High-output aerobic (trail running, cross-country skiing, fast hiking): Lightweight synthetic base layer, thin fleece or wind-resistant softshell mid layer, packable hardshell in your vest pocket. Wool or synthetic liner gloves, a light beanie. The goal is to stay just warm enough while moving and add layers the moment you stop.
Moderate output (day hiking, snowshoeing at a steady pace, backcountry skiing): Midweight merino or synthetic base, a fleece or light synthetic puffy mid layer, hardshell or softshell shell depending on conditions. Insulated gloves, a warmer hat, and gaiters if the trail is deep. Runner’s World’s cold-start guidance applies here too: dress for 10–15 minutes into the activity, not for the first cold minute.
Low-output or static (spectating, ice fishing, lift-line waiting, cold-weather commuting): Heavyweight base layer, a thick fleece or heavy synthetic puffy, and a waterproof shell. Insulated mittens over liner gloves, a balaclava, or face gaiter, and insulated boots rated for the temperature. You are not generating much heat, so your layers have to do all the work.
Wet conditions (kayaking, snowshoeing in rain, slushy spring skiing): Synthetic base layer (merino dries too slowly here), a synthetic mid layer, and a fully taped hardshell. Waterproof gloves or pogies, wool or synthetic socks, and gaiters or waterproof boots.
| Conditions | Base Weight | Mid Layer | Shell |
|---|---|---|---|
| Cold + high exertion | Lightweight synthetic | Thin fleece or wind layer | Packable hardshell |
| Cold + moderate exertion | Midweight merino or synthetic | Fleece or light puffy | Hardshell or softshell |
| Very cold + low exertion | Heavyweight merino or synthetic | Heavy puffy or thick fleece | Waterproof hardshell |
| Wet + any exertion | Lightweight synthetic | Synthetic puffy | Fully taped hardshell |
Plan for transitions. Start cold, add your mid layer at rest stops, and put your shell on before conditions change — not after you’re already damp.
Protecting your head, hands, and feet
Extremities are where most people underestimate heat loss, and they’re also the easiest to fix.
Essentials checklist:
- Warm hat that covers your ears (wool or fleece)
- Liner gloves for dexterity, insulated gloves or mittens over them for cold or wet conditions
- Waterproof mitts for wet snow or sustained cold below 20°F
- Wool or synthetic socks (never cotton — blisters form faster in damp cotton socks)
- Insulated boots rated for your expected temperature range
- Gaiters for deep snow or wet trail conditions
Lower-body layering
Most people over-insulate their upper body and under-insulate their legs. A midweight base-layer bottom handles most active cold-weather use. Add insulating mid pants (fleece-lined or synthetic puffy pants) for very cold or low-output days. Shell pants or bibs go on top when conditions are wet or windy. Bibs are worth the extra bulk in deep snow — they seal the gap at your waist that pants leave exposed.
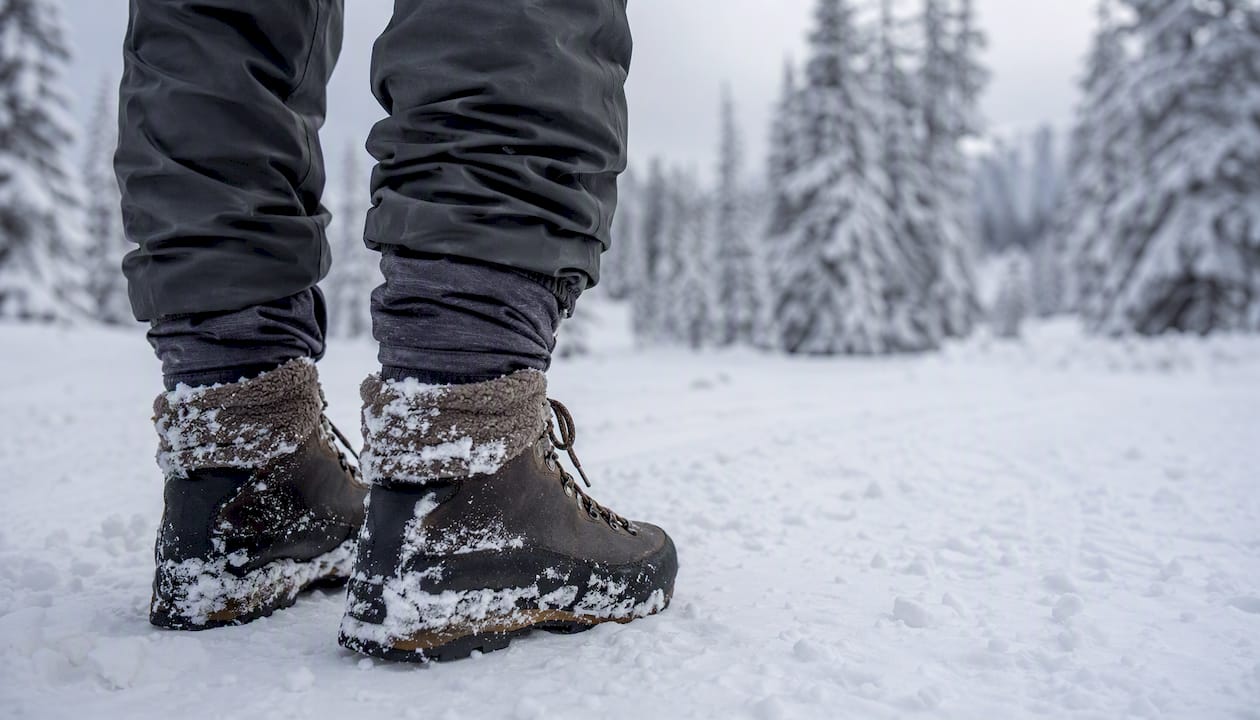
Sock layering tip: a thin liner sock under a midweight wool or synthetic sock reduces friction and manages moisture better than one thick sock alone. Make sure your boots have enough room for both layers without compressing circulation.
Pro Tip: Pack a spare pair of socks and lightweight glove liners in a small dry bag inside your pack. Wet hands and wet feet end trips early — dry spares weigh almost nothing.
Fit, care, and smart packing
Fit is the part of layering most people skip. A base layer that rides up, a mid layer so tight it flattens the insulation, or a shell so roomy it funnels cold air in — any of these breaks the system. Before a big outing, do a quick range-of-motion check: reach overhead, bend forward, and squat. Every layer should move with you without bunching or pulling.
Caring for your layers
Merino wool: Machine wash cold on a gentle cycle, lay flat to dry. Heat and agitation cause shrinkage. Never tumble dry on high.
Synthetics: Machine wash warm, tumble dry low. Avoid fabric softener — it coats the fibers and reduces wicking performance.
Down insulation: Wash with a down-specific cleaner (Nikwax Down Wash is widely available), tumble dry low with clean tennis balls to break up clumped loft. This step matters — improperly dried down stays clumped and loses most of its warmth.
DWR reactivation: When your shell stops beading water, wash it with a technical cleaner, then tumble dry on low heat or iron on low through a cloth. Heat reactivates the DWR coating without damaging the membrane. CleverHiker’s base layer guide notes that regular care extends the functional life of technical fabrics significantly.
Packing logic: Keep your shell and one mid layer accessible at the top of your pack or in a hip belt pocket. Dry-bag your spare insulation so it stays dry even if your pack gets soaked. Emergency insulation (a lightweight puffy or space blanket) goes in a dedicated outer pocket you can reach without removing your pack.
Pro Tip: To dry wet insulation in the field, spread it out flat in a sheltered, breezy spot rather than compressing it in your pack. Compression while damp permanently damages loft in down.
Common layering mistakes and how to fix them
Most cold-weather misery traces back to a short list of fixable errors.
- Cotton base layers: Swap immediately for a merino or synthetic option. Cotton holds moisture against your skin and accelerates heat loss — this is the most dangerous mistake in wet or cold conditions.
- Mid layers that are too tight: A compressed mid layer loses most of its insulating value. If you can’t pinch fabric away from your body, the fit is too snug.
- Not venting when you start sweating: Open your pit zips, unzip your collar, or shed a layer before you’re soaked. Sweat-saturated insulation is almost as bad as no insulation.
- Ignoring extremities: Cold hands and feet signal that your core is pulling blood away from your limbs to protect vital organs. Add a hat or an extra layer to your core first, then address hands and feet.
- Leaving the shell in the car: Conditions change fast. A shell weighs almost nothing in a pack and can prevent hypothermia during an unexpected storm or rest stop.
For emergency warming during a rest period: Put on every dry layer you have, cover your head, get out of the wind, eat something, and drink warm fluids if available. A space blanket in your pack takes up less space than a granola bar and can be the difference between a cold rest stop and a dangerous situation.
How to test and tune your layering system
The best layering system is one you’ve actually tested before you need it. Short, controlled outings close to home are the right place to experiment.
Step-by-step field test:
- Dress slightly lighter than you think you need (the “start cold” rule from the AMC).
- Note the temperature, wind, and precipitation at the start.
- Record when you first feel warm, when you start sweating, and when you change a layer.
- At the end, note which layers you wore the whole time and which stayed in your pack.
A simple log entry looks like this: temperature, activity, layers worn, where you felt damp, comfort rating from 1–5. After three or four outings, patterns emerge — you’ll know exactly which base weight you need for a 25°F trail run versus a 10°F snowshoe.
Emergency checklist before any long outing:
- Space blanket or emergency bivy
- Extra insulating layer (dry-bagged)
- Spare hat and gloves
- High-calorie snacks and a thermos
- Waterproof matches or a lighter
Pro Tip: After each outing, flip your base layer inside out and check for damp spots. The pattern tells you where you sweat most and helps you choose ventilation features (mesh panels, zip vents) for your next gear purchase.
What most people get wrong about layering
The conventional wisdom says “more layers equal more warmth.” That’s only half right. The real variable is how those layers interact with your activity level. A thick down jacket worn while running hard will soak through with sweat in 20 minutes, leaving you colder than a single lightweight fleece would have.
The other underrated factor is timing. Most people add layers too late — after they’re already cold and damp — instead of managing heat proactively by venting early and often. Pit zips, collar zips, and front zippers are not just features; they’re the controls for your personal climate system. Use them constantly, not just when you’re overheating.
CAS7MFOCUS’s range of vests, hoodies, and outerwear is designed with this kind of everyday versatility in mind. Pieces like the thermal down vest and the cozy hooded hoodie work as practical mid layers for casual outings, not just as fashion pieces. Test any new layer in a short, controlled outing before committing it to a longer trip.
CAS7MFOCUS has the layers you need for cold days
Cold-weather layering doesn’t have to mean expensive technical gear for every outing. CAS7MFOCUS offers stylish, comfortable pieces that work as real mid layers and casual outerwear for everyday cold-weather use.
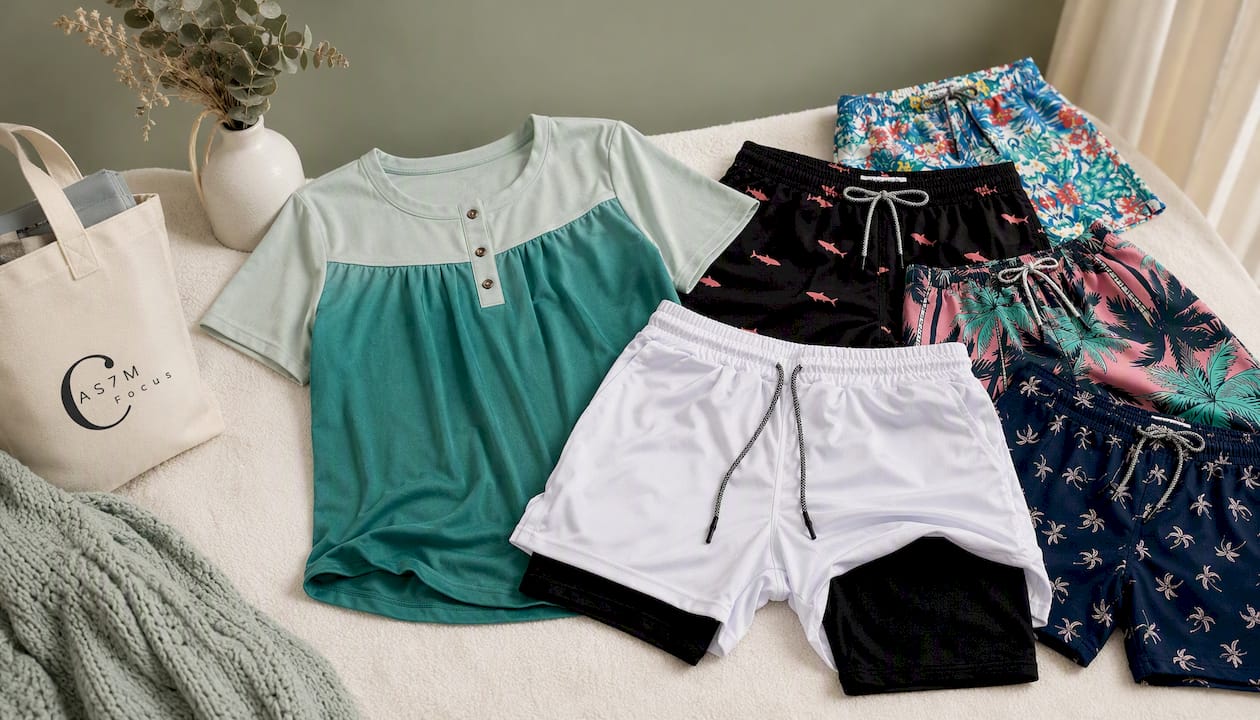
The women’s thermal vest is a practical insulating layer that fits over a base layer and under a shell without bulk. The plush vest option adds softness and warmth for lower-output days. And when the season shifts, CAS7MFOCUS’s full range covers you — from women’s casual tops for layering in transitional weather to men’s breathable shorts and casual beach shorts for warmer days ahead. Browse the full collection at CAS7MFOCUS and build your layering wardrobe from pieces you’ll actually wear.
Sources
- How to Layer Your Clothes to Stay Warm in Any Season (2026) | WIRED
- Winter layering 101: What to wear to stay warm and dry outdoors | Appalachian Mountain Club
- Best Base Layers For 2026 | Paddling Magazine
- Best base layer | OutdoorGearLab
FAQ
What is the best layering combination for cold weather?
A moisture-wicking base layer (merino or synthetic), an insulating mid layer (fleece or synthetic puffy), and a windproof or waterproof shell is the standard three-layer system recommended by REI and the Appalachian Mountain Club. Adjust the weight of each layer based on your activity level and temperature.
How do you layer clothes when it’s cold?
Start with a fitted, non-cotton base layer, add an insulating mid layer sized to fit over it without compressing, and top with a shell that has room for both. Begin your outing feeling slightly cold and add or remove layers as your exertion level changes.
What are the three layers recommended for cold weather?
The base layer manages moisture, the mid layer provides insulation, and the outer shell protects against wind and precipitation. Each layer has a specific job, and removing or adding any one of them changes how the whole system performs.
Does personal metabolism affect how many layers you need?
Yes, significantly. High-output activities like running or fast skiing generate enough body heat that a lightweight base and a thin mid layer often suffice, while standing still in the same temperature may require a heavyweight base, a thick puffy, and a shell. Match insulation to exertion, not just to the thermometer reading.

